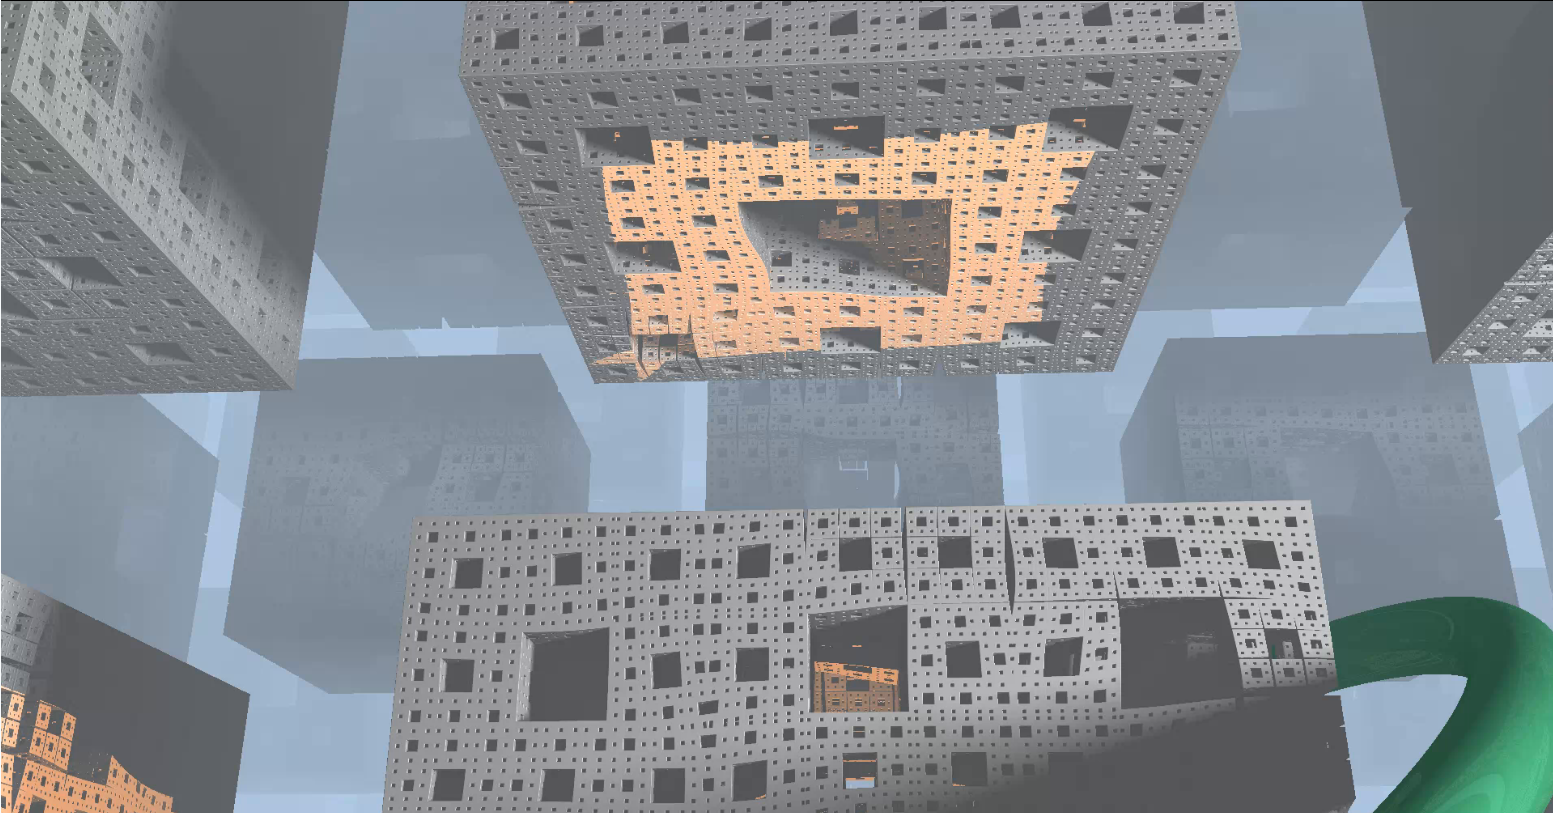
In this project, we used ray-marching to render interesting images involving fractal structures. All of our graphics render inside of a fragment shader, and and in real-time as well.
We followed the standard approach to ray-marching. This is quite similar to ray-tracing. Each pixel we need to color is assigned a ray direction \(r\). We color a pixel based on whether or not the line \(o + d \cdot r) intersects an object in our scene. Unlike ray-tracing, we don't have a closed form solution to calculate this intersection. Instead, we have a function, called a Signed Distance Function (SDF), which, for any point, gives us the distance to the nearest object.
Our approach is then to start with \(d = 0\), and then increment this distance using the scene SDF to give us a bound for how far we can advance without hitting anything. Once our SDF is small enough, we can consider that we've hit an object.
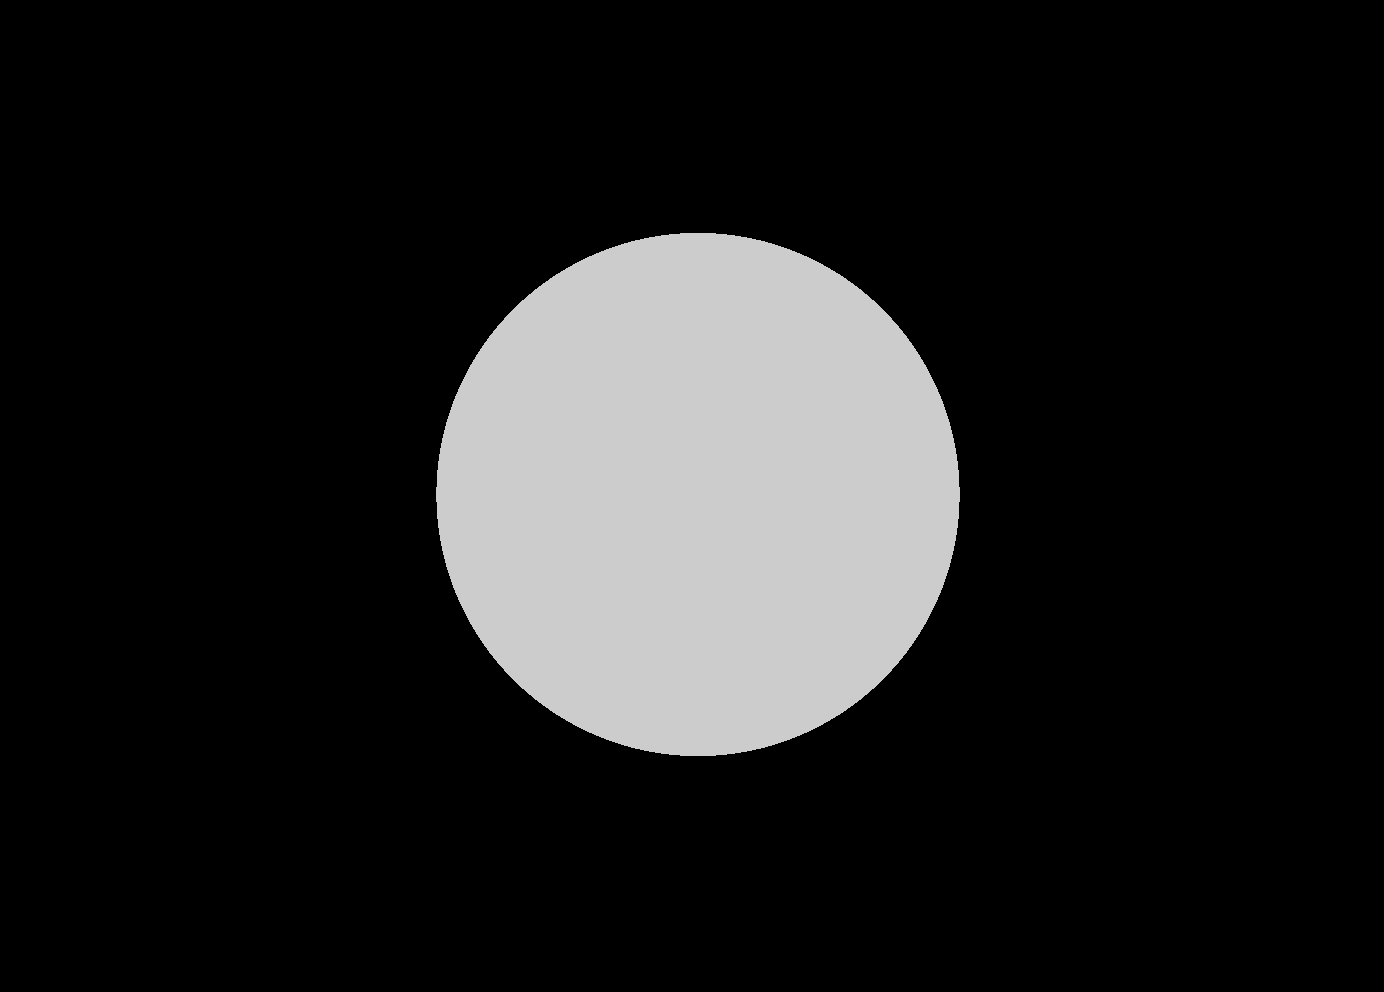
If we color a simple sphere based on whether or not we hit it, we get this nice image:
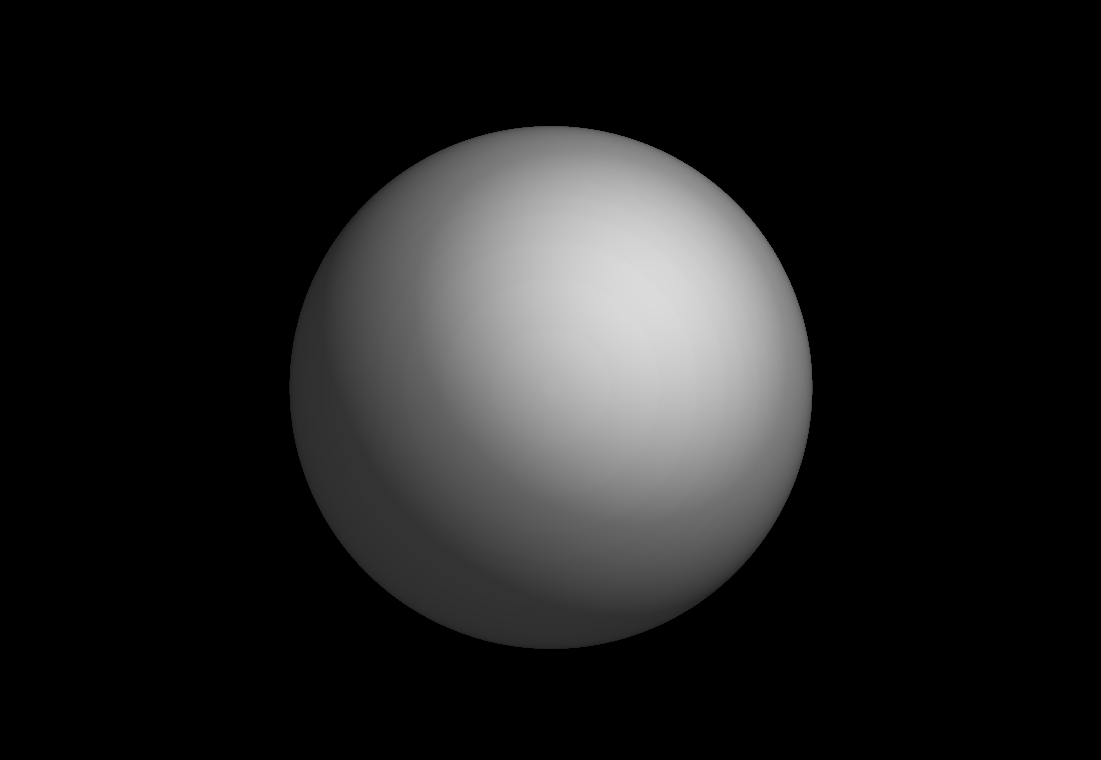
Using our SDF, we can calculate a normal, by estimating the derivative of our SDF numerically. We do this by calculating the difference in our SDF as we take a tiny step in each direction, and then normalizing this vector to get our normal.
Using this normal information, we can apply the usual Phong lighting model:
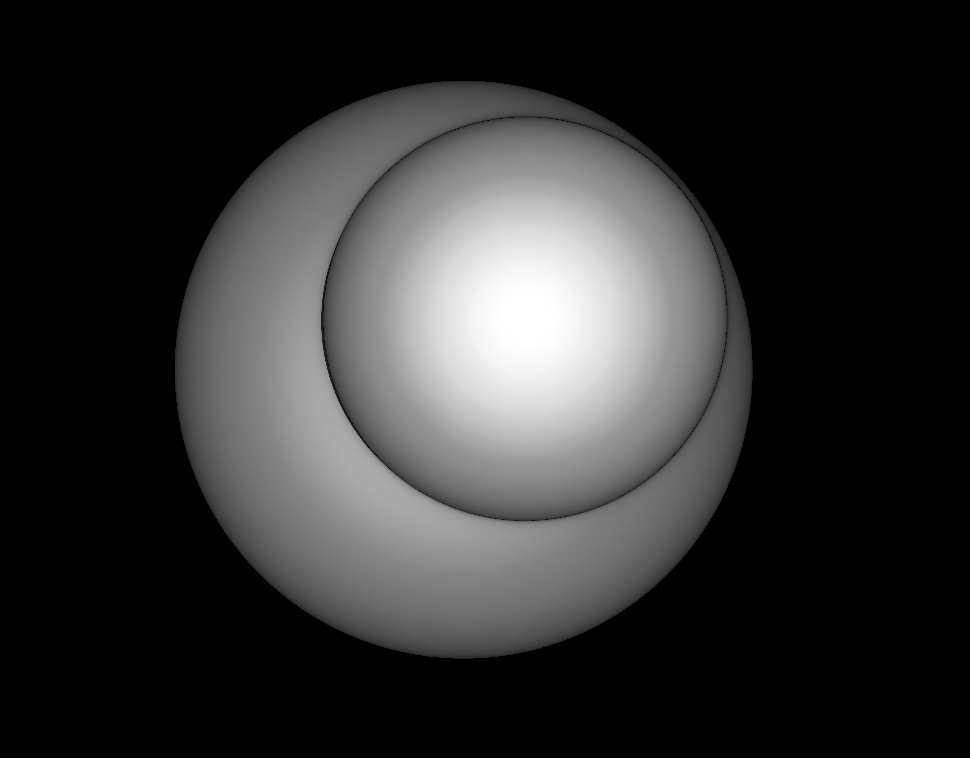
We can also have more than one object in our scene, by taking the minimum of two SDFs:
We can also adjust our lighting model to include shadows. This is done the same way as with ray-tracing. We march towards the light source, and if we hit some object that's closer than the light, we know that the point we started from is actually obscured by that object, and should be in shadow.
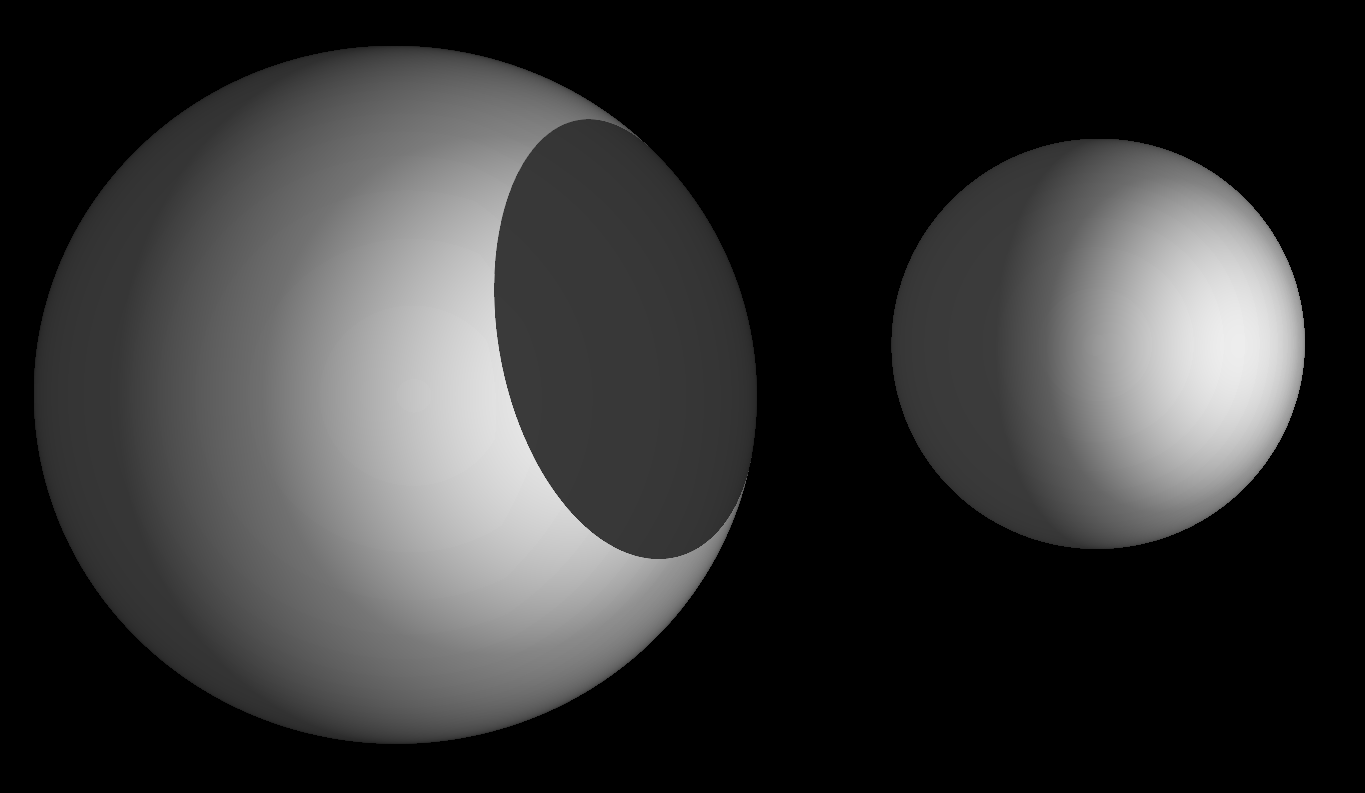
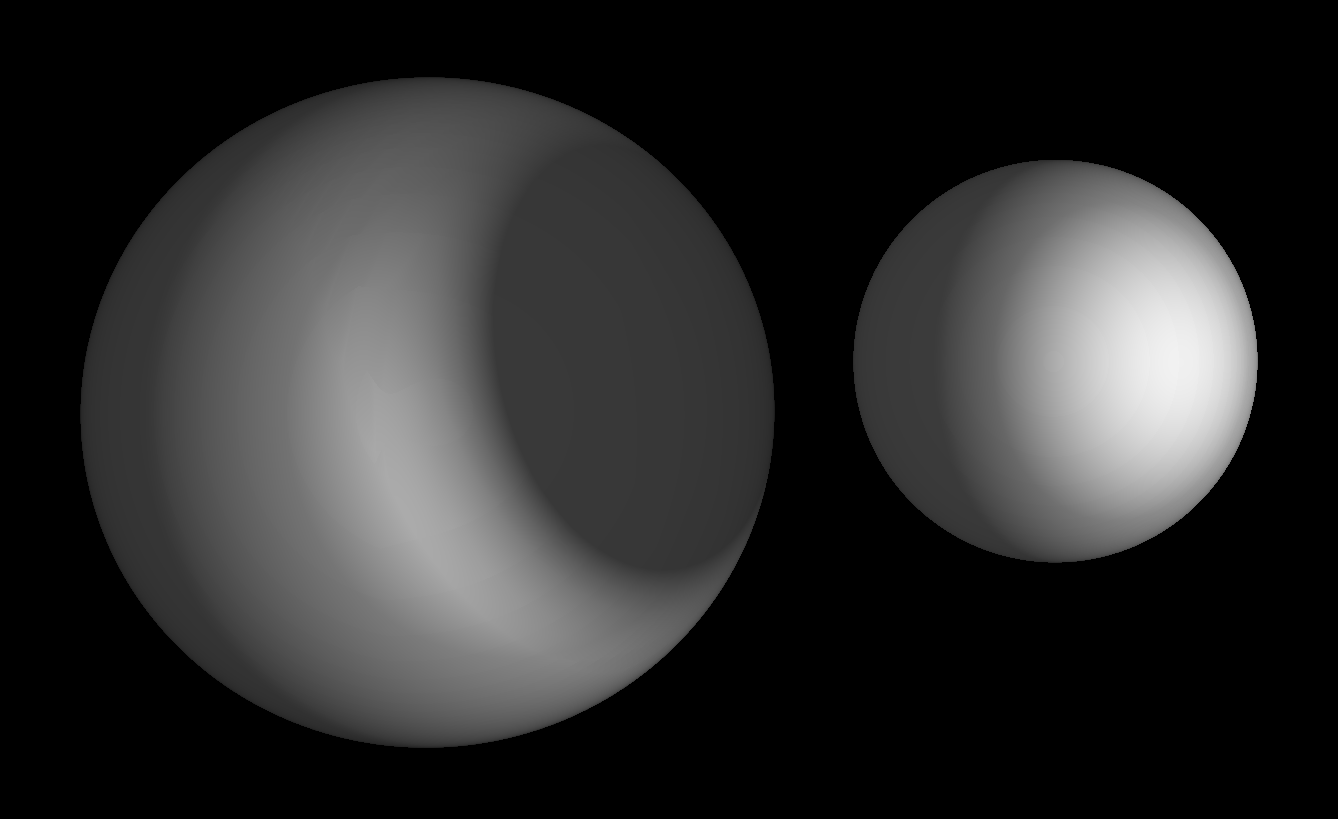
We've also made our shadows soft, following the Quilez technique. Basically, you want to use that fact that you didn't intersect an object exactly, but you passed close enough to an object, and should be partially obscured. This means that when marching towards the light source, we update a shadow factor based on how close we got to some object, and how soft we want our shadow to be.
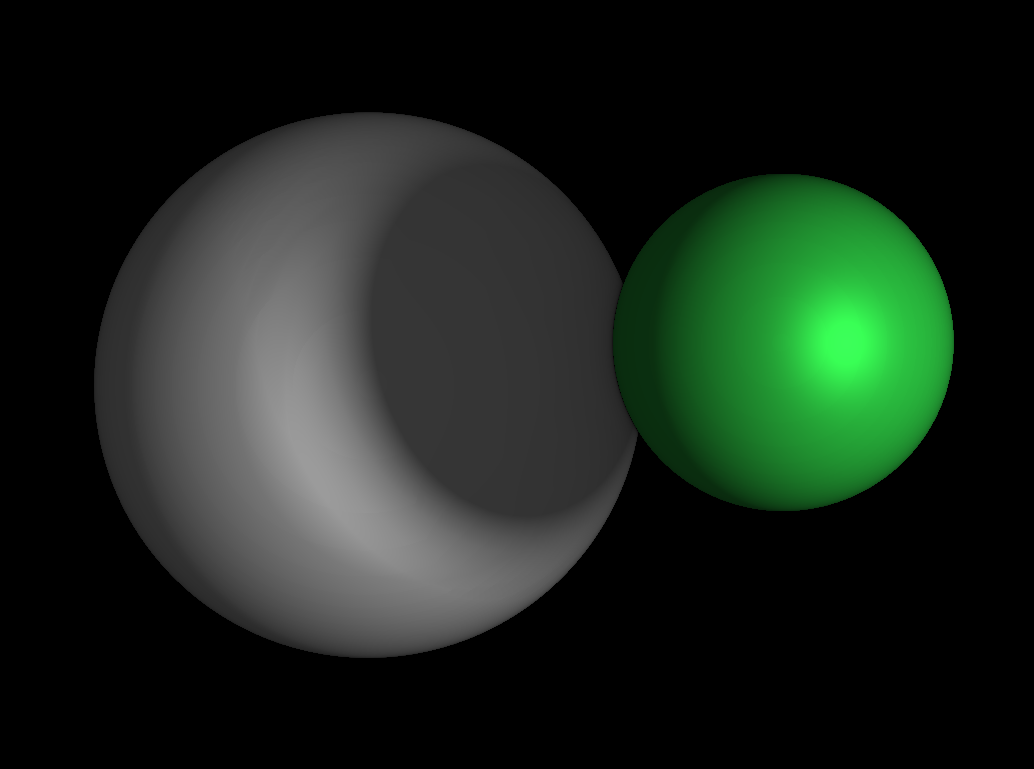
It's also possible to use different materials for different objects. Instead of our SDF function simply returning a distance, and can also return the material of whatever object was closest. Then, our SDF outputs the minimum of different object's distances, and uses the material associated with the closest object.
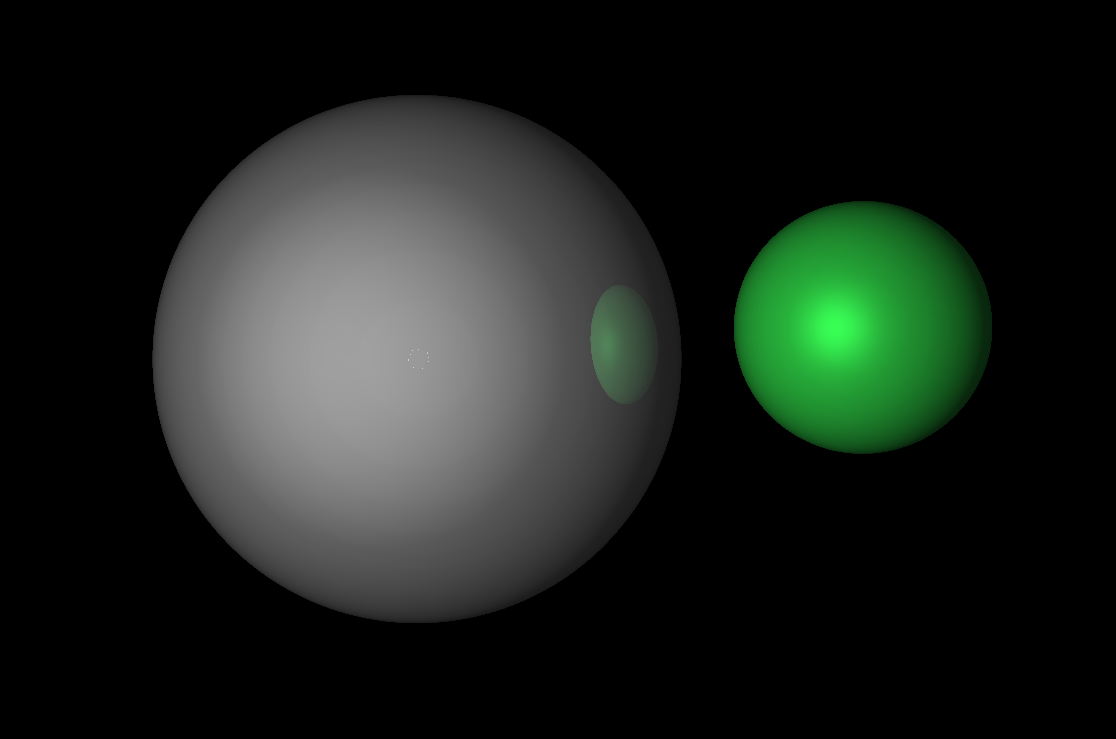
Reflections can be done in the same way as ray-tracing, since we have a normal vector. We can reflect our incoming ray using this normal vector, and then march it to see if we hit anything, and mix in that color based on the reflectiveness of our material.
We can also modify our SDFs to make them more interesting. For example, we can try \(\text{sdf}(p) + 0.1 \text{fbm}(p)\) to mix in a bit of fractal brownian noise, adding an interesting texture to our object:
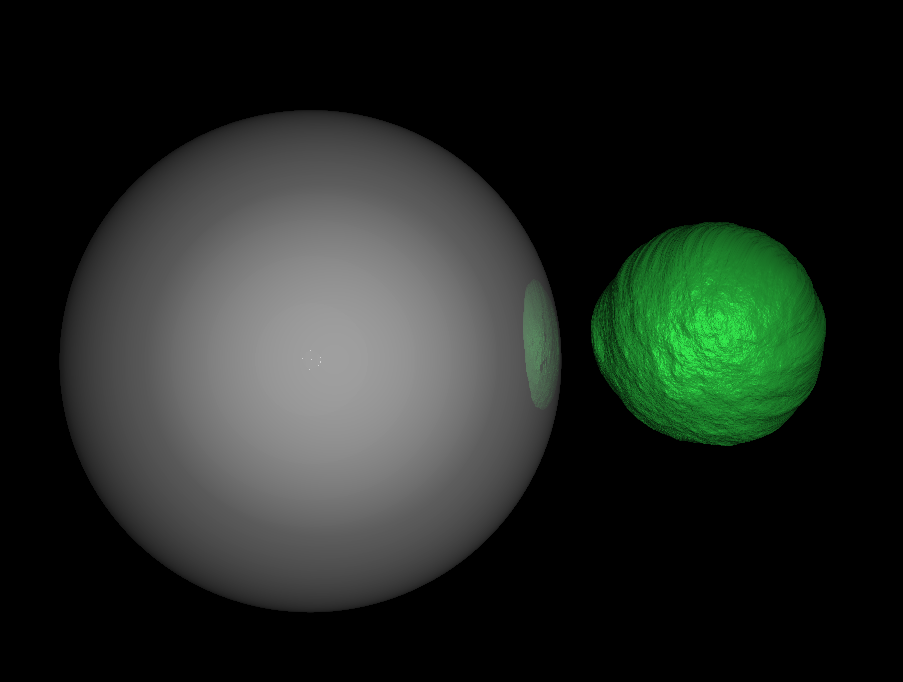
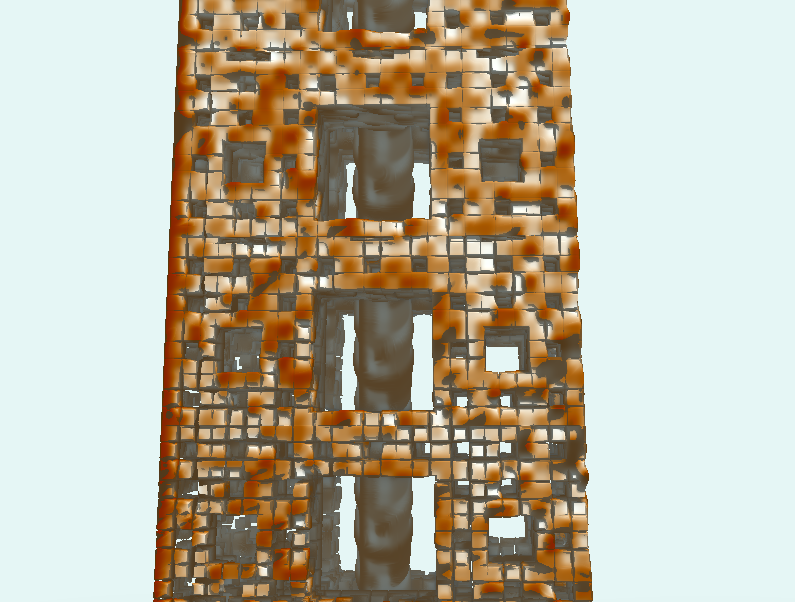
This noise can also be used to vary the material we use, like we for the rusty towers in our third scene:
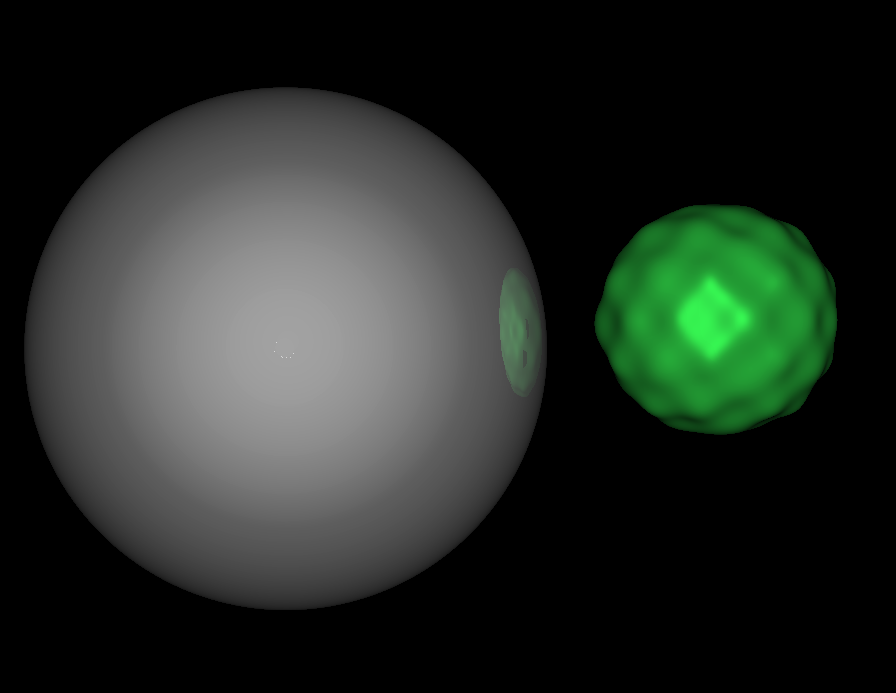
We can also use a sinuisoidal displacement, something like: \[\sin(\alpha_x \cdot x) \sin(\alpha_y \cdot y) \sin(\alpha_z \cdot z)\] which gives us some nice wavy patterns
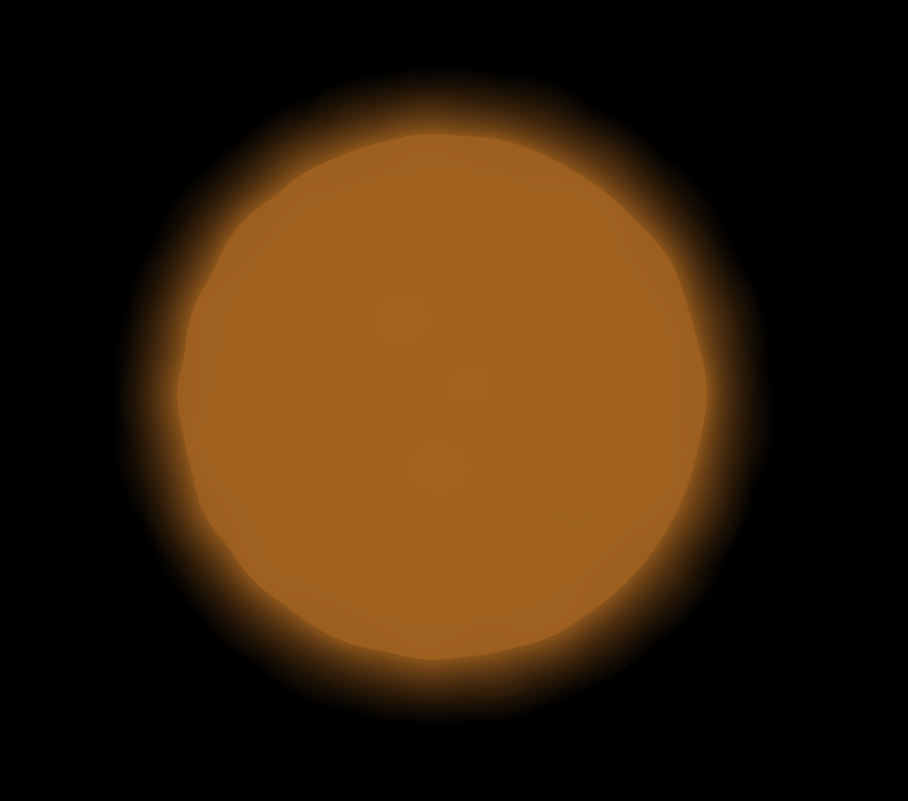
Another fun effect is glow. We can do this by keeping track of the closest distance to some glowing object, and then use that to mix in its color, using an exponential, or linear decay. We also need to make sure that we let light pass through this object's material, which we use in a few places to allow having a light source inside of an object.
This gives us a nice little corona around an object:
To render fractals, there are a variety of techniques that we played around with.
Some ones we didn't end up using are based on iterating functions on quaternions, like Mandelbulbs, or Julia sets. The idea here is to calculate a distance by iterating a function parametrized by our point in space, and then using a distance to some point as the final SDF value.
A more fruitful kind of fractal is the kaleidoscope fractal. The rough idea behind this technique is to iteratively fold different regions of space together, through symmetry planes, scaling, and rotation. This allows us to render classic fractals like a menger sponge:
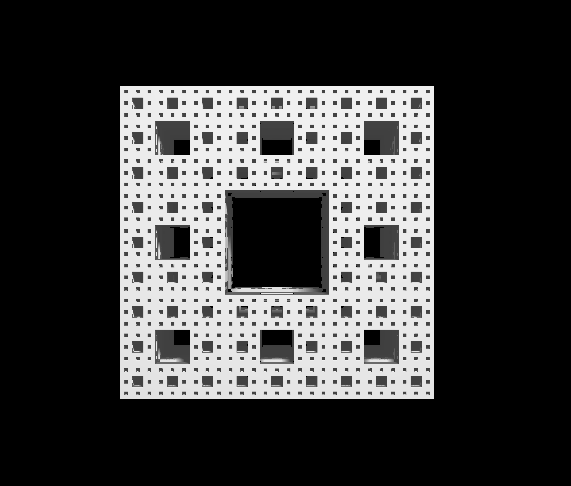
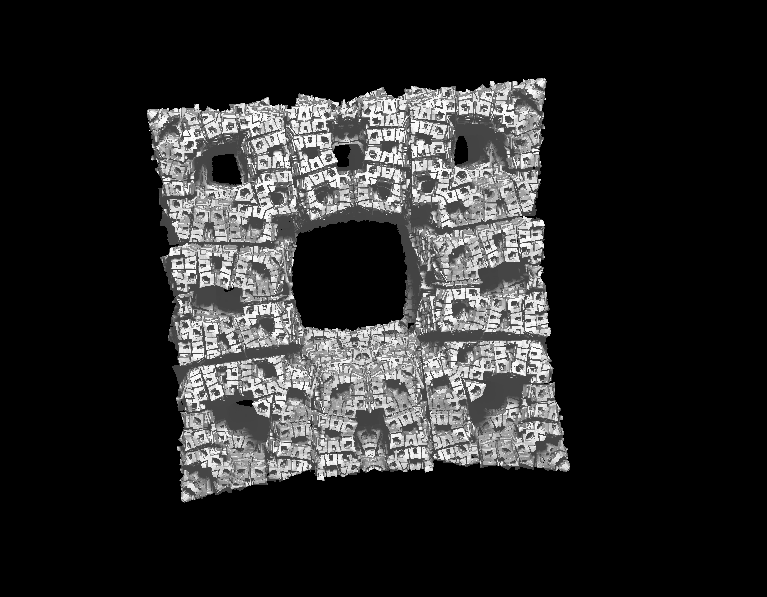
We can also slightly tweak the parameters used when folding to get interesting variations on our fractal:
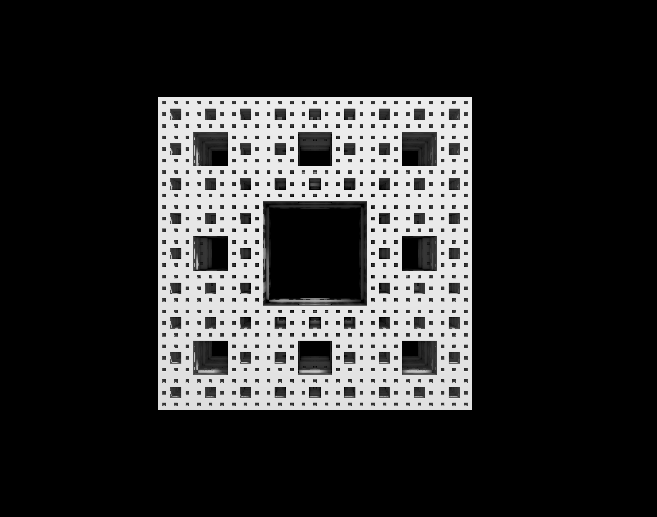
When rendering intricate fractals, we can get an ambient occlusion effect for free. The more complicated some surface is, the less ambient light can reach that surface. But, if a surface is very complicated, then we take a lot of steps. We can use the number of steps taken when marching in order to calculate an occlusion factor:
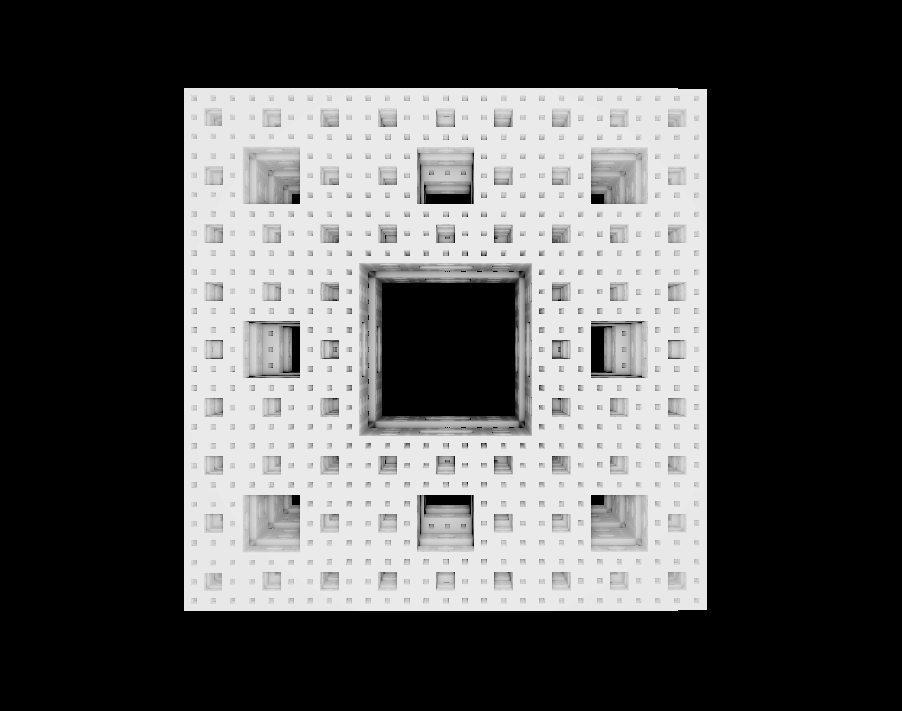
We can then multiply by this factor to occlude certain parts of our shape:
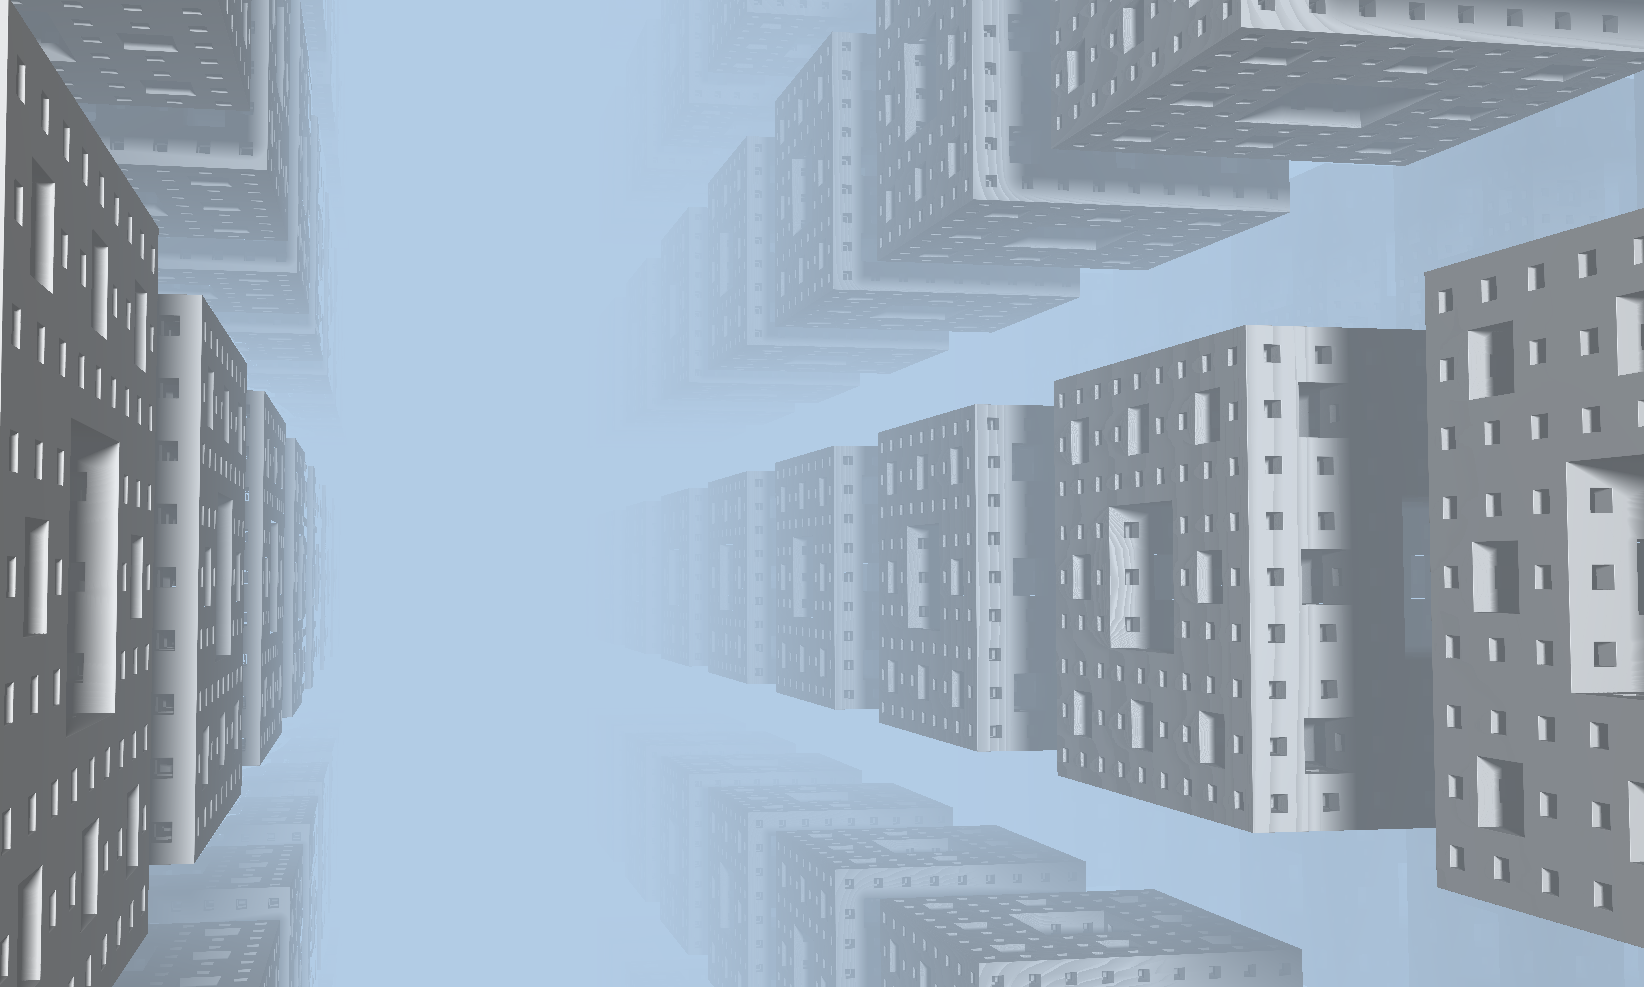
Another effect we use with great success is repetition. Where we can use the modulus operator to repeat an object an infinite number of times throughout space. When combined with fog, in order to hide the imperfections that arise when an object is far away, this can create very pretty results:
We think that the video presentation we made showcases some of the prettier results we've managed to obtain. We also have live demo, which uses a simpler scene. For the video presentation, we made a scene with enough complicated features to not run very smoothly, and took advantage of being able to caputre frames and stitch them together into the video, making it more impressive.
We spent the first few weeks assembling a large variety of different tools we could potentially use to create interesting scenes, and then spent the last week focused on actually combining them together to create something pretty.
A lot of the potential shapes and techniques we could have put into the scene went unused, but having good foundations allowed us to iterate pretty quickly and try out a lot of different ideas, which we enjoyed.